Visual Visitor WordPress Plugin Installation
Visual Visitor’s WordPress Plugin Visual Visitor has created an easy to use, WordPress Plugin.
This plugin simplifies the installation of Visual Visitor even more so that your company can quickly benefit from the services of anonymous visitor identification.
Visual Visitor Installation Instructions:
- Click on the link here to download the WordPress plugin
- Go to the Plugins section from your WordPress dashboard
- At the top of the window, click on Add New
- Next, click Upload Plugin
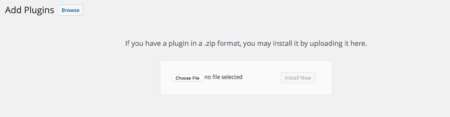
Click Choose File and then choose the file downloaded in the first step
- visual visitor-plugin.zip.
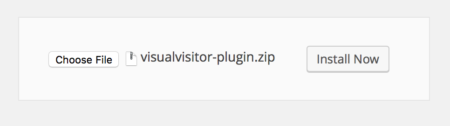
- Click Install Now
- You will see the following:
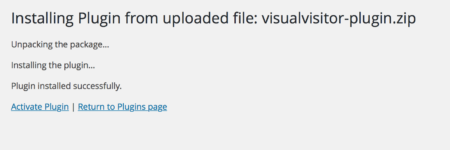
- Click the Activate Plugin option.
- Now to the main menu and click on Settings, then Visual Visitor.
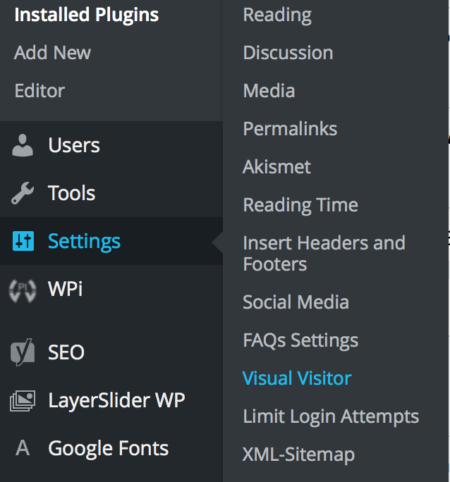
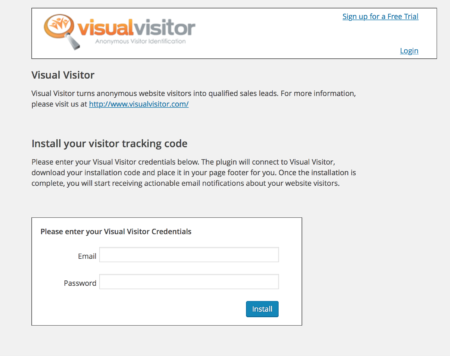
- This will bring up your Visual Visitor configuration window.
- Finally, enter the email address and password that you created for your Visual Visitor account.

This plugin is only available for WordPress websites.
Alternative - manual theme installation:
If you prefer not to use a plugin (or if visitors might disable unknown plugins), you can add the script manually. Open your theme's header.php file (via Appearance > Theme File Editor) and paste the script just before the closing </head> tag.
Cache plugin warning:
Many WordPress sites use caching plugins (WP Rocket, W3 Total Cache, LiteSpeed Cache, etc.). After installing the Visual Visitor script, clear your cache so the updated page code is served to real visitors. Failure to clear the cache is the most common reason a newly installed script does not appear to fire.
Verify the installation:
Visit your live site, open Developer Tools (F12 > Network), and filter for your script to confirm it is loading on each page load.
Prefer to hardcode your script on your Wordpress website? Click here for a walk through.